With heat embossing, you either need an embossing ink pad OR a pigment ink pad AND embossing powder. I decided to use pigment ink with my embossing because...
1) it would add some color while using clear embossing powder
2) I could also use it for regular stamping
and 3) I would be able to see where I stamped.
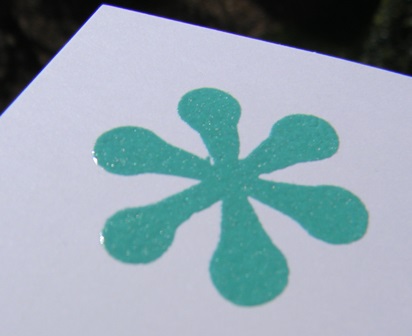 |
| Thick stamp that DID work. |
 | |
| Thin lettering that DID NOT work. I also scorched the cardstock here. |
---------------------------------------------------------------
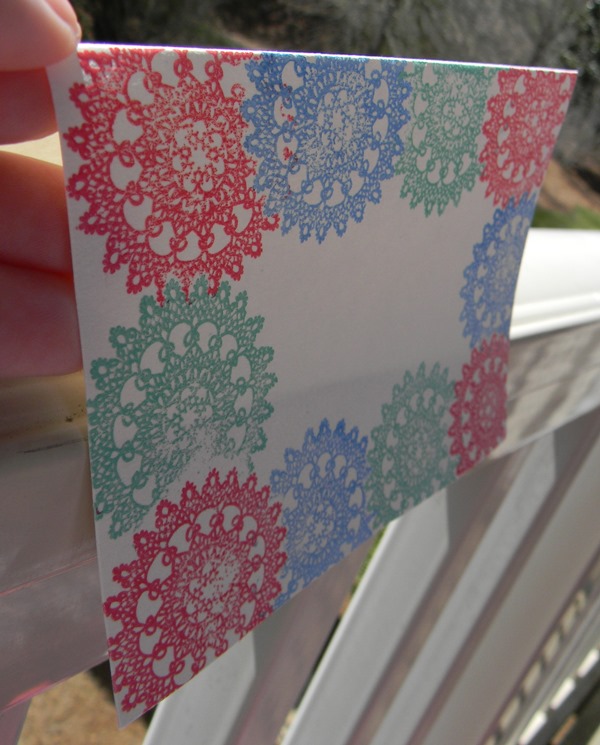
I went to Michael's yesterday afternoon to return some paint and ended up buying a stamp and some pigment ink. I couldn't help myself! Today I made this card with that stamp, 3 colors of ink, and clear embossing powder.
Here are my supplies:

- Stamp ($1.50+tax at Michaels)
- Ink pads ($1.00/each +tax at Michaels)
- Clear embossing powder ($1.99+tax at Michaels. This may have been on clearance!)
 Here are the photos:

It certainly isn't perfect, but I think it looks awesome!
As with most of my cards, I did not write a message on it... yet. That leaves it open for a thank you card or birthday card and I can decide when the time comes.
No comments:
Post a Comment